
Let's talk about your worm bin! I'll show you how to construct, start, and harvest your bin
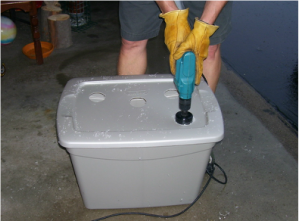
Constructing your bin
If you'd prefer to purchase a pre-made bin from me (and you're in the Southern Maine area), CLICK HERE.
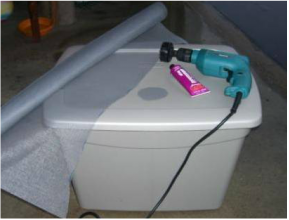
The photos show a plastic bin, but you can make it out of wood, also. Supplies:
|
|
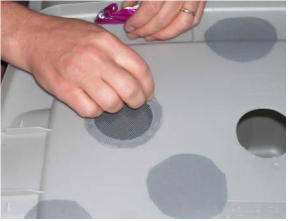
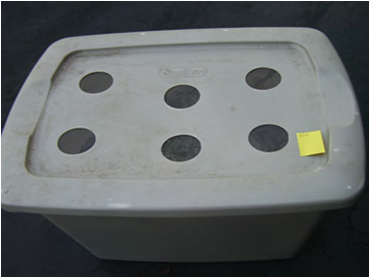
I do not put holes in the bottoms of my bins, though you can. I find that the holes become clogged over time and if you count on that for drainage you may drown the worms. Instead I monitor frequently and add more bedding as needed to control moisture.
For a downloadable .pdf of these instructions, CLICK HERE. |
Starting your bin
Your worms have arrived! Let's get started! I am doing this outside so we have enough light for the photos. I typically start new bins indoors.
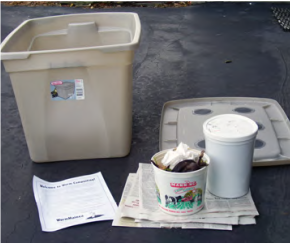
Step 1. Gather your materials: Bin, worms, food scraps, and newspaper. You should have about half as much food as you have worms.
|
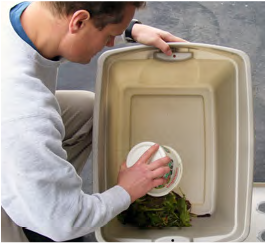
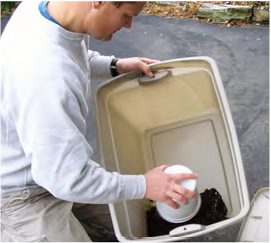
Step 2. Put your food in first. Food always goes in the bottom of your worm bin.
|
Step 3. Add your worms. Put them directly on top of the food. The next time they’re fed, put the food in the adjacent corner.
|

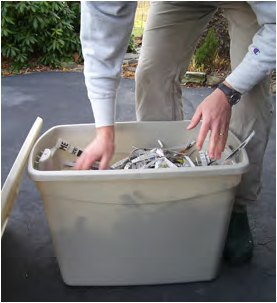
Step 4. Add newspaper. Fill bin to within 3-4 inches of the top (push down gently to be sure the newspaper is in contact with the worms).
|
That is all you need to start your bin. No soil is necessary!
|
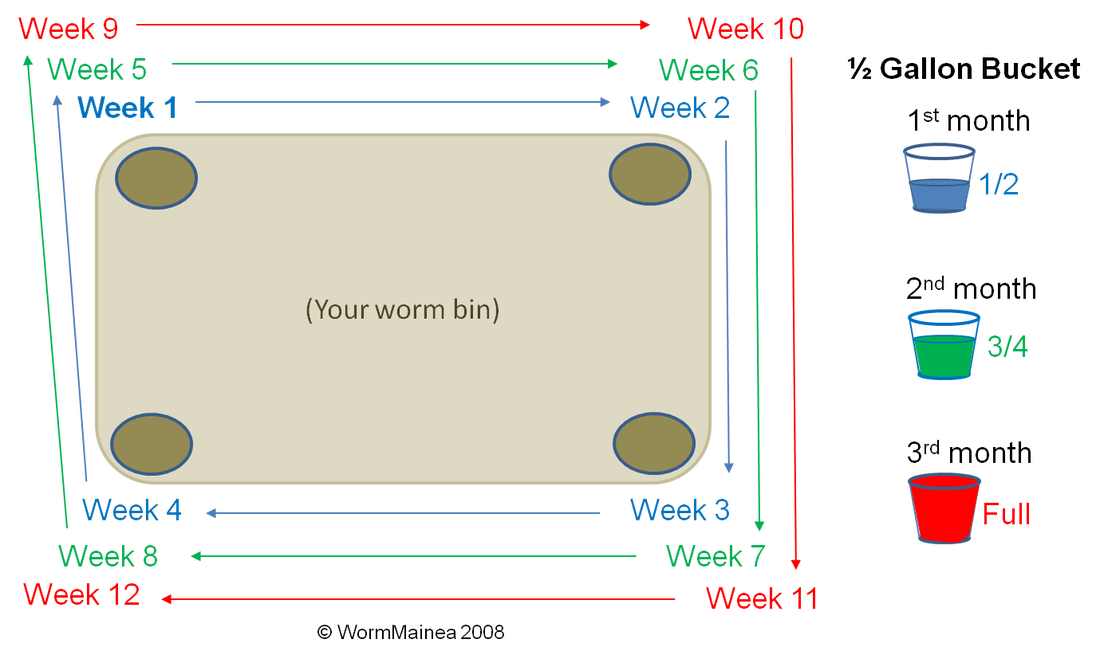
Step 5. Put a sticky note on the bin to mark where you just put the food. Feed in the adjacent corner next time.
For a downloadable .pdf of these instructions, CLICK HERE. |
|
In the case of this bin, I will again add ½ pound of food next week (the same in the 3rd and 4th corners the following weeks). When I get back to my original corner, I will feed ¾ pound of food in the corners for the following 4 weeks. When I complete this cycle, I will add 1 pound of food per week. At this point your worms should be close to double the number you originally received and able to keep up.
|
|
Harvesting/Sorting your bin
After several months of vermicomposting, you may notice that your bin is getting heavy with those nutrient-rich castings! I'll show you how to collect the castings (soil) for use in your garden and potted plants or on your lawn
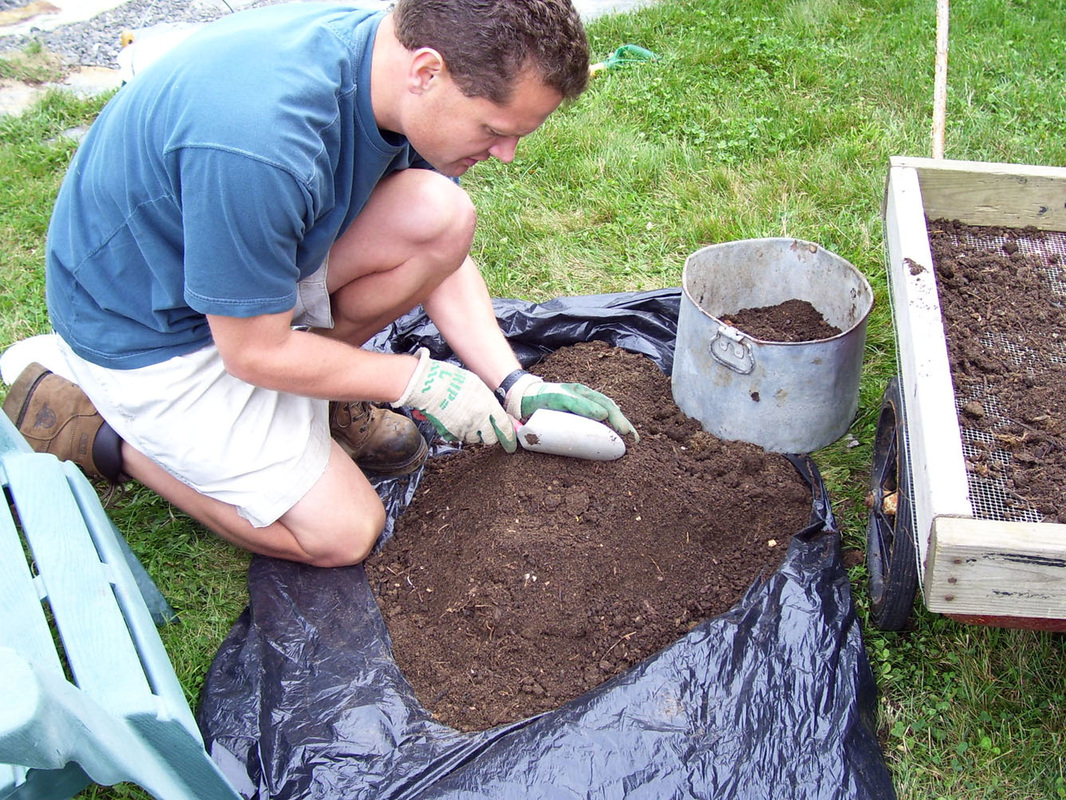
Because red wigglers are afraid of light, take your bin outside on a warm, sunny day and dump it onto a tarp.
Your worms will flee into the compost. |
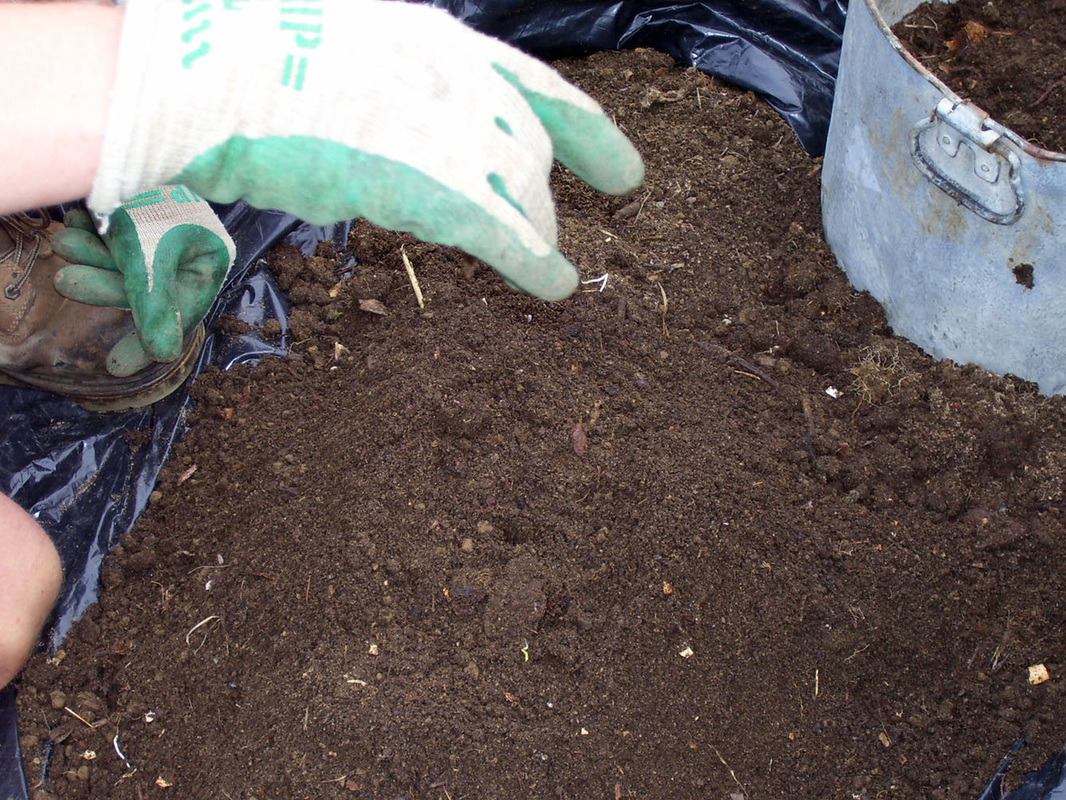
Scoop soil off the top and walk away so the worms can dig deeper.
Continue doing this until you have a pile of worms and a mound of worm-free soil. |
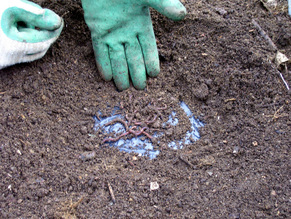
Put the worms back in your bin full of fresh bedding (newspaper) and begin again. (See above for instructions for starting your bin.)
The castings are ready to use or you can let them rest in a bin and let the cocoons mature (typically 6 weeks) and repeat. |
