Cheers,
Mark
I was invited to visit the Maine State Prison to see their large scale vermiculture project. The inmates, with the help of VTI Mendes and the support of the warden and Captain Fries, have established a vermicompsting system. They purchased a large (I'd estimate 6'x8') raised bed system that harvests vermicompost by scraping (cutting) from below. It is housed in a daylight basement in one of the buildings and accepts select food waste from the prison kitchen. Everyone involved should be commended for their work (the worms were reproducing without any smell or fruit flies). The project is being carefully monitored and maintained and the dozen or so inmates I met have a very good understanding of vermiculture (they had obviously done some reading!) and asked great questions. They have been working on the system for a little over a year and it is ready to harvest vermicompost. They plan to use some of their vermicompost in their own greenhouse and gardens, but hope to also sell some at the Maine State Prison store. After seeing their work, I suspect they will have an excellent product.
Cheers, Mark
0 Comments
From the blog archive; originally published on February 20, 2010
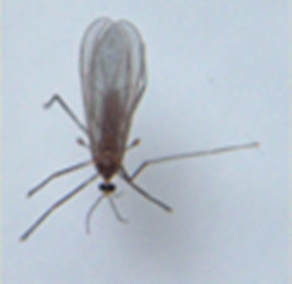
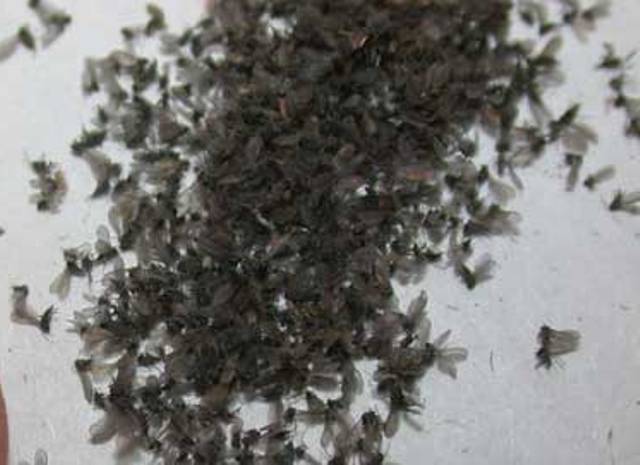
I get questions like this occasionally: "When I took the lid off the bin I noticed tiny little black flies flying out... I don't think they are fruit flies because I put out a dish with mixture of cider vinegar, water and a little mild dish soap which always takes care of fruit flies but these guys could care less about it! Please help." Most commonly these are be fungus gnats (see image). Fungus Gnats are very small 1/32 to 7/16 inch long, long legged and mosquito-like and are usually black, gray, or brown. The larvae feed on moist decaying organic matter and fungi growing in the soil. I have found the best treatment of fungus gnats to be BTi (Bacillus thuringiensis israelenis) mosquito rings/dunks. To treat an infestation, make a solution of 2 cups of water for about 1/4 of the dunk. Remove the newspaper layer and spray about 1/2 of this solution on the soil daily for 10 days (make fresh solution every 2 days-- one piece of ring lasts 2 or 3 times). Vacuum any adults your can when you open the lid (dust buster or shop vac work well). Keep the newspaper layer off your bin during the treatment period and do not add food. That should take care of them. To prevent fungus gnats, be sure to bury any food scraps. If you see mold starting to grow in your bin, replace the newspaper layer and and hold food back until the worms catch up. Cheers, Mark From the blog archive; originally published on January 23, 2010
A grower in Taiwan contacted me to share a business model he uses. It was interesting, so I am sharing it. Coordinate with local companies who have compostable trash, develop a group of friends to make vermicompost from the trash, sell vermicompost at the Farmer's Market. Because businesses pay a lot in trash removal, this can be reduced if you find other people to take their trash and make worm compost to sell. You get the business to pay you to have members of your group members to take away the compostable trash ($1/kg). You sell your worms to your group and coordinate having them pickup the food waste. Then you pay the growers weekly to provide you with a fixed (2-5 kilograms) amount of vermicompost per month ($2/kg) and to pickup the trash (compost food removal at $0.25/kg). You can sell the vermicompost for about $5/kg at a farmer's market in the city or online. Remember you also make money on the first sale of your worms to your growers and coordinating payment with the businesses. Your growers will benefit because they only pay an initial start up fee and coordinate picking up food and delivering vermicompost to you. They get a monthly check from you for picking up waste and processing vermicompost. If you can do this in a city (so you wouldn't spend a lot of money on gas), the whole group could make some decent money. Plus, if you coordinate food waste pickup at restaurants, you'll probably become a friend of the owner (because you save them money) and get some meals for free, too! It takes some time to set this up, but it works! Thanks Chen for sharing this. I would add that you could also make vermicompost tea and sell to local landscapers. Cheers, Mark One of the issues that prevents people from composting (indoors and outdoors) is smelly compost in the collection container in the kitchen. I think this is more likely to be a problem for smaller families (we fill our container too fast for it to get very smelly before we have to empty it!) and probably more likely to be a warm season issue.
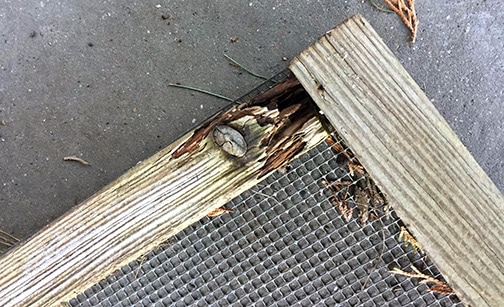
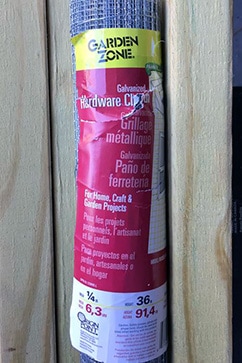
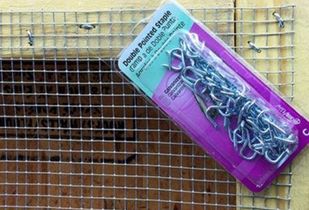
If you find this is an issue, I have a solution— biochar. At the Common Ground Fair this year, Todd from Char-Cola (www.char-cola.com) came to my booth to ask whether I had used biochar in my compost collection container. I told him that I had not, he offered me a 1 quart sample to try. I did some reading to ensure that using biochar in my worm bins would harm my worms. Not surprisingly, it doesn’t. Time for a vermicomposting experiment! A few weeks after the fair, I tried about a quarter cup of biochar on top of our compost collection container and then let it sit covered in the basement to get ripe and simulate what some families might experience. I was surprised that it didn’t smell too bad (rotting potato peels and onion pieces can smell pretty bad). I added the food waste with the biochar to a corner of my bin and marked the corner. Whenever adding something new to your worm bin always add in the corners. Over the next month, I observed that bin as I added food waste to that bin with biochar. During a vermicomposting experiment, I monitor that bin and check the corners. If the worms don’t like what was added they will move away. Adding the biochar to the food didn’t cause the worms to move away and when I peeked in that corner the smell was not too bad. I then monitored that bin for 2 months and everything is fine. I have not tried biochar in my outdoor composting bin, but I cannot imagine that there would be any problems. I would recommend biochar for those families who have concerns about keeping a compost collection container in their kitchen. Cheers! After many years of hard use, I needed to make a new soil sieve. My old one (shown above) was badly rotted at the corners. Even pressure treated lumber doesn't last forever. Note that the galvanized hardware cloth lasted longer than the lumber. Always clean your sieve after using it.
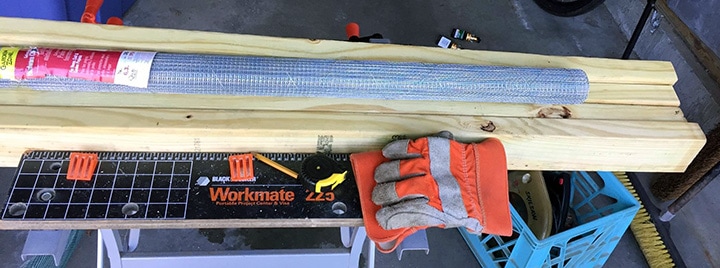
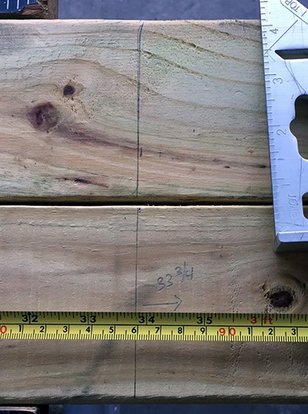
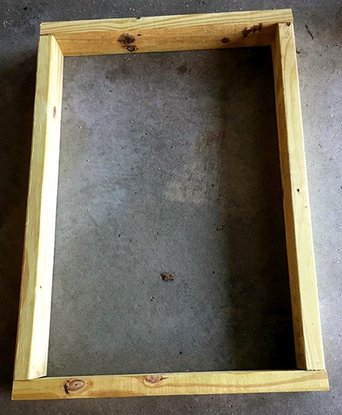
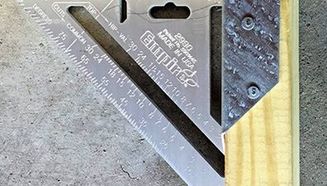
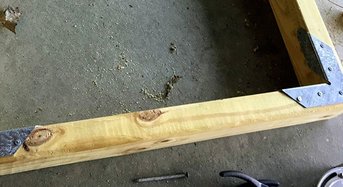
First step is to measure my old one and cut the lumber. I then laid out the cut pieces to make sure they fit together and are square. You want to size it so that it fits over your wheelbarrow to make sieving an easy chore. Then square up the corners (using a framing square) and attach using framing corner to hold shape securely. I used galvanized nails with these galvanized corners.
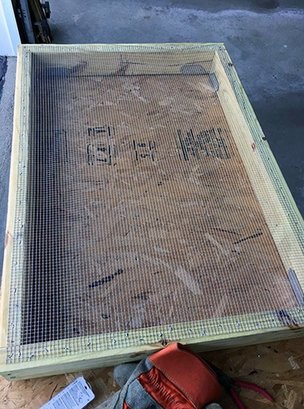
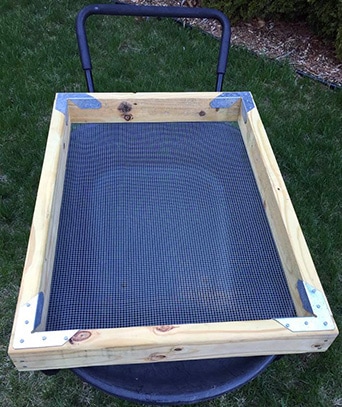
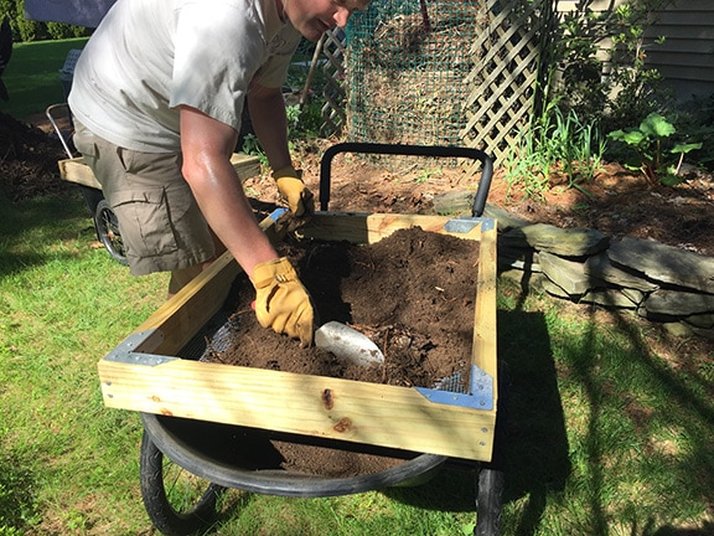
You did it! Your finished soil sieve should look like this (bottom is shown on left and top on right). Notice that it fits my wheelbarrow nicely.
This one is build better than my old one. I'm thinking it will last for more than 30 years. That means I'll get to pass it to the next generation. Cheers! Mark |
Mark FollansbeeVermicomposting and beyond! Check out what I've been up to on my blog. Archives
September 2021
Categories
All
|