
Having removed the invasive plants from my yard (aside from monitoring and maintenance), I am now continuing the next step, to add more native plant species to my yard.
I have previously blogged about the many benefits of native plant species and shared some pics of some plants I bought at a native plant sale. Last winter I took a class put in by Wild Seed Project (https://wildseedproject.net/category/plant-profiles/) to learn about growing native plants from seed.
The class was great and the step-by-step instructions that I will briefly repeat here. I recommend you visit their website for details.
At the end of November, I started several species that I plan to add to my yard next fall:
According to the instructions from Wild Seed Project, I gathered the following:
I organized these for the seeds and inserted labels with the name and sowing date pressing the label down below the soil surface along the edge of the pot. I sowed the seeds on top of the soil. I learned that you can sow the seeds closely (much closer than you would in a garden) and covered the seed with builder's sand by sprinkling it on top of the seeds so that each seed is covered to a depth of the size of the seed (a very thin layer for columbine and a thicker layer for the peony seed and plum pits).
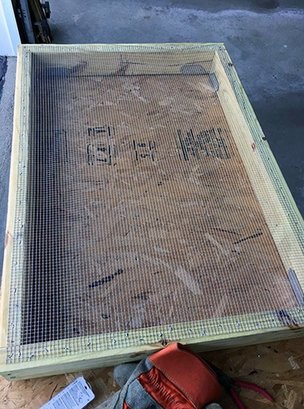
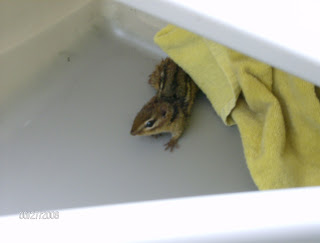
With that finished, I put all of the pots in my raised bed garden and placed my soil sieve on top to keep any animals from digging in the pots to eat the seed or plant acorns (I see you chipmunks and squirrels!). My raised bed garden that gets part sun in the summer and is almost completely shaded in winter (because the house blocks the lower sun) was the perfect location. The instructions call for keeping the soil moist by watering gently weekly (I watered twice until we had sufficient snow and cold for the pots to freeze).
Now we wait while nature takes over to rain, snow, sleet, thaw, refreeze, and etc. Native seeds require a cold period to break dormancy and germinate. In March, I will monitor the pots for germination and move them from the raised bed in late April to a partly sunny location when I move my annual garden plants out to the raised bed.
One important note from the class was that germination may take a long time. Patience is required-- each native seed has its own timetable for germination. Some will begin germinating after the cool of spring and others will delay until the heat of summer.
I will post updates on how my seeds and plants are doing throughout the year.
Cheers,
Mark
I have previously blogged about the many benefits of native plant species and shared some pics of some plants I bought at a native plant sale. Last winter I took a class put in by Wild Seed Project (https://wildseedproject.net/category/plant-profiles/) to learn about growing native plants from seed.
The class was great and the step-by-step instructions that I will briefly repeat here. I recommend you visit their website for details.
At the end of November, I started several species that I plan to add to my yard next fall:
- columbine (wild-type seed collected from my yard)
- rudbeckia (wild-type seeds from my friend Steffi's yard)
- New England aster (wild-type seed collected from my yard)
- heart leaved aster (wild-type seed collected from my yard)
- Culver’s root (wild-type seed collected from my yard)
- milkweed (wild-type seed collected from my yard)
- butterfly weed (wild-type seed collected from my yard)
- swamp milkweed (wild-type seed collected from my yard)
- Joe Pye weed (wild-type seed from my friend Kristen's yard)
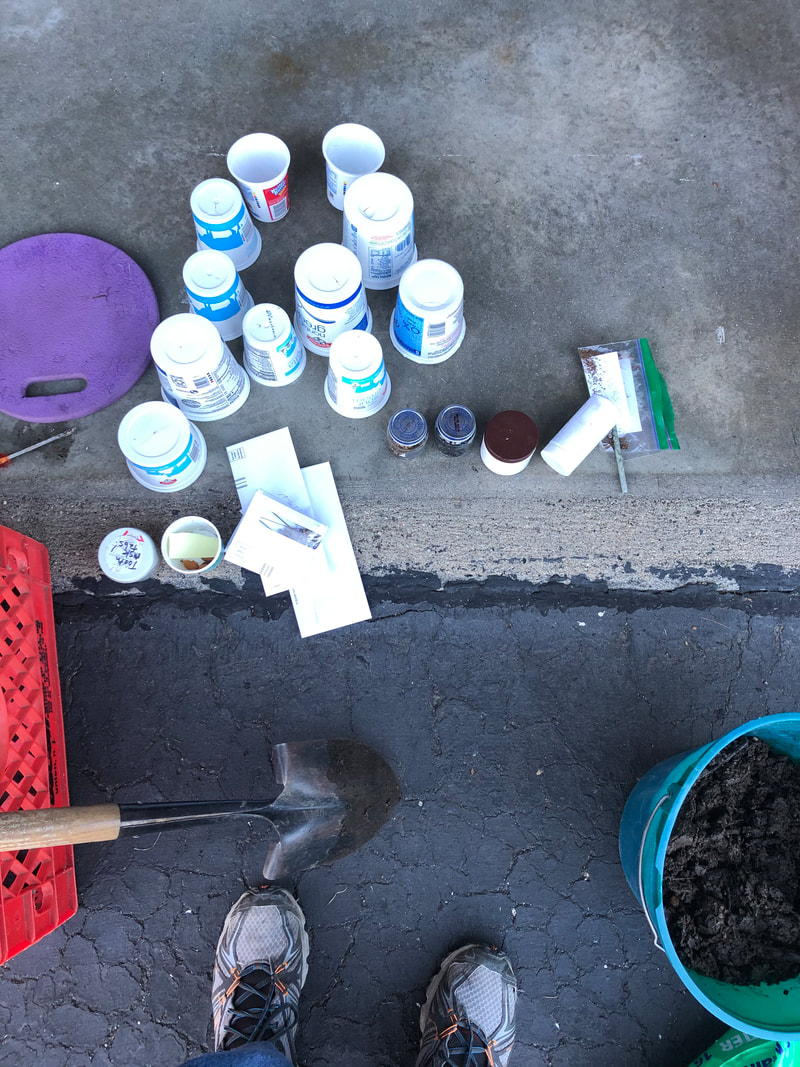
According to the instructions from Wild Seed Project, I gathered the following:
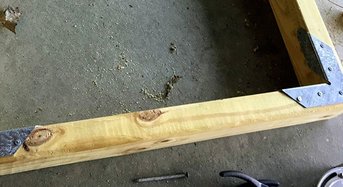
- Short unused plastic pots as well as some yogurt containers that I had been saving for this project (I punched drainage holes in the bottoms of the yogurt containers).
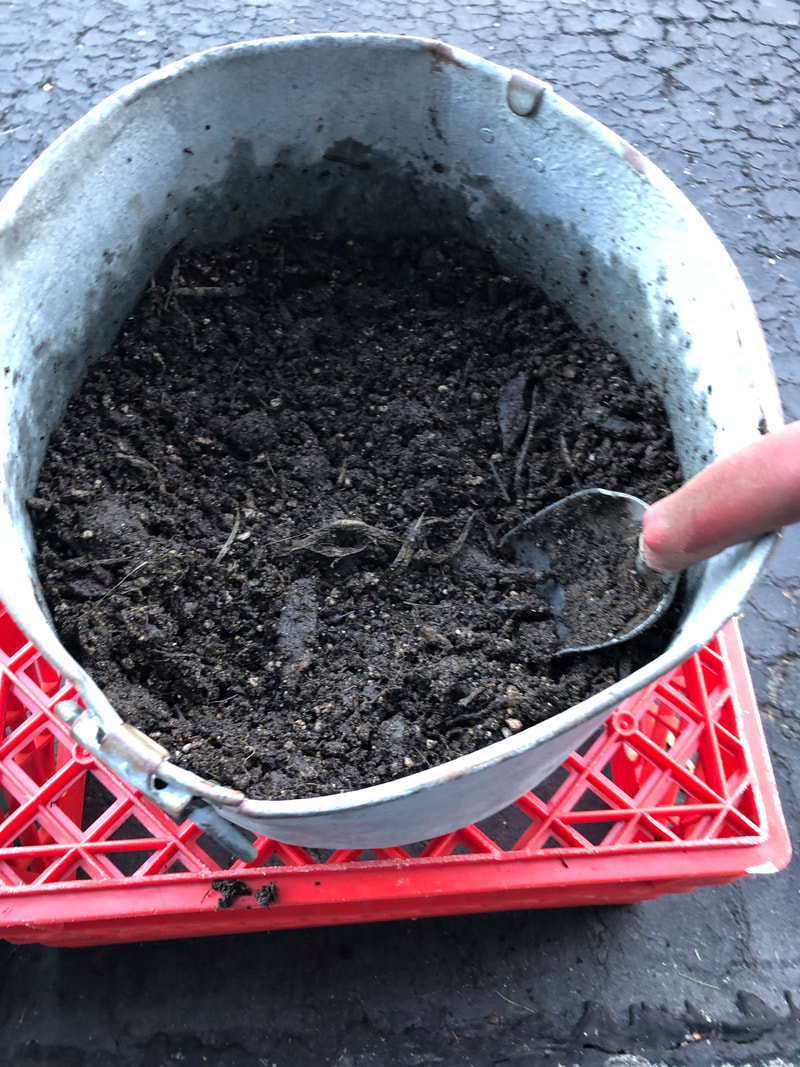
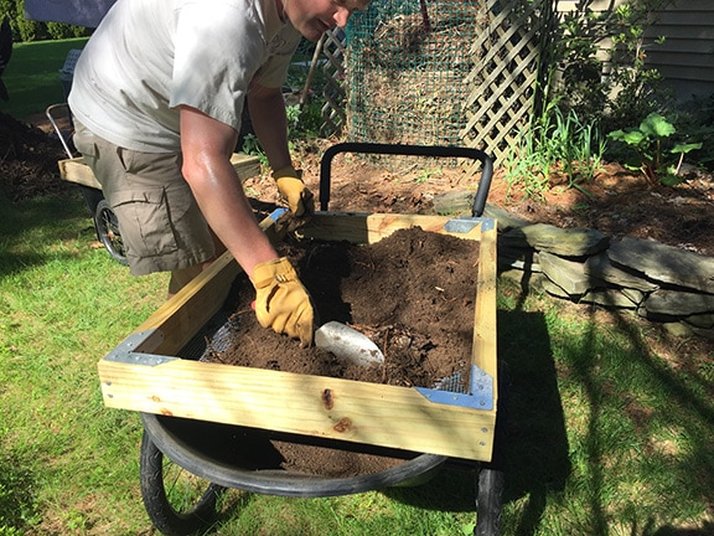
- Soil mix. I used Coast of Maine Organic Seed Starter and my own compost from my outdoor composter. I mixed these thoroughly (50:50 by volume) in small batches to fill my pots. My compost was wet, so there was no need for me to moisten the soil mix (it clumped nicely when mixed).
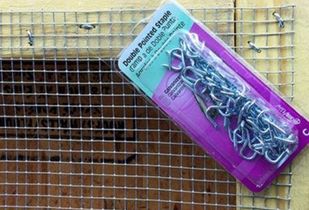
- Builder's Sand which is a coarse grade of sand used to cover the seeds. I got mine from Lowe's (my local ACE did not have it).
- Plastic strips for labels (I cut these from the yogurt container lids) and a pencil.
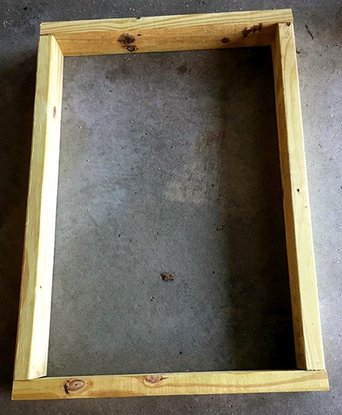
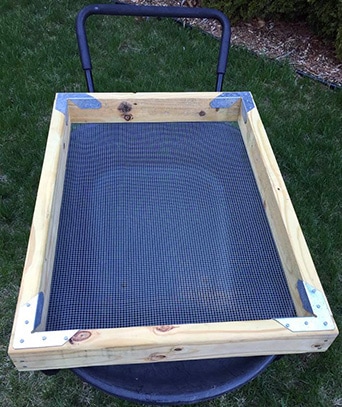
- Soil sieve.
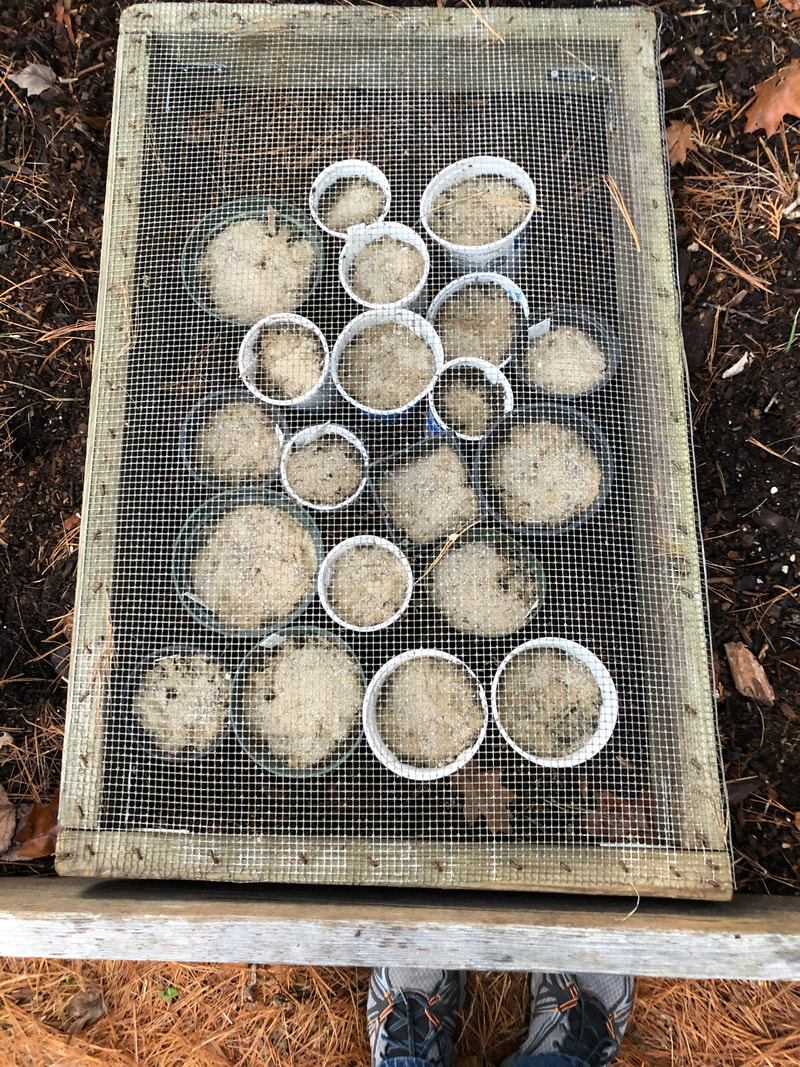
I organized these for the seeds and inserted labels with the name and sowing date pressing the label down below the soil surface along the edge of the pot. I sowed the seeds on top of the soil. I learned that you can sow the seeds closely (much closer than you would in a garden) and covered the seed with builder's sand by sprinkling it on top of the seeds so that each seed is covered to a depth of the size of the seed (a very thin layer for columbine and a thicker layer for the peony seed and plum pits).
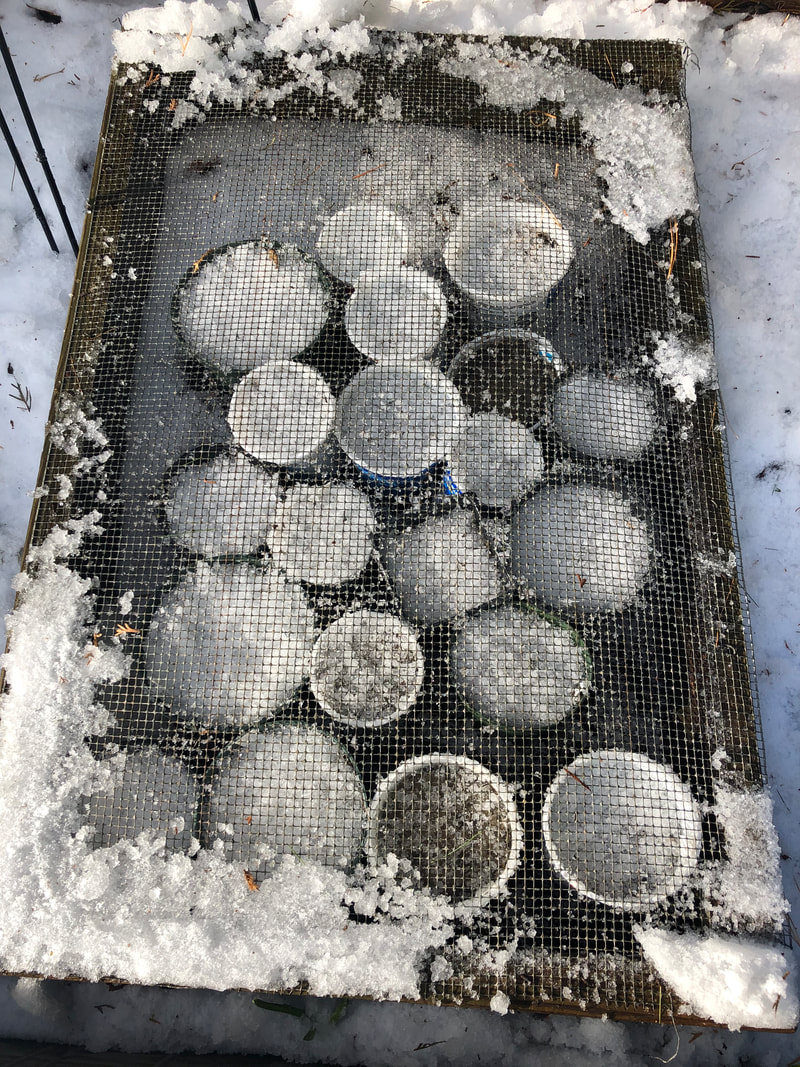
With that finished, I put all of the pots in my raised bed garden and placed my soil sieve on top to keep any animals from digging in the pots to eat the seed or plant acorns (I see you chipmunks and squirrels!). My raised bed garden that gets part sun in the summer and is almost completely shaded in winter (because the house blocks the lower sun) was the perfect location. The instructions call for keeping the soil moist by watering gently weekly (I watered twice until we had sufficient snow and cold for the pots to freeze).
Now we wait while nature takes over to rain, snow, sleet, thaw, refreeze, and etc. Native seeds require a cold period to break dormancy and germinate. In March, I will monitor the pots for germination and move them from the raised bed in late April to a partly sunny location when I move my annual garden plants out to the raised bed.
One important note from the class was that germination may take a long time. Patience is required-- each native seed has its own timetable for germination. Some will begin germinating after the cool of spring and others will delay until the heat of summer.
I will post updates on how my seeds and plants are doing throughout the year.
Cheers,
Mark


 RSS Feed

