
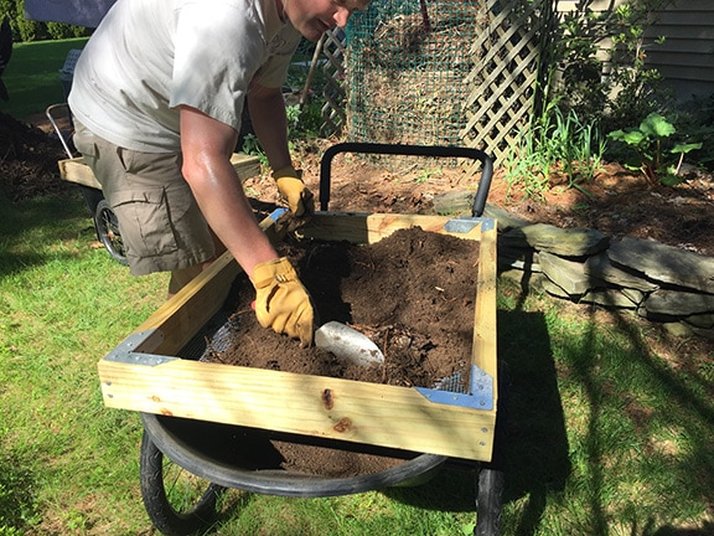
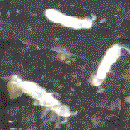
I recently fielded a question about how much food is needed for large-scale vermiculture. A good rule of thumb is that you want the worms to have access to about 75% of their body weight in food they can eat per day. Which means that you have to estimate how much and how fast the food is rotting in your system, which can be tricky.
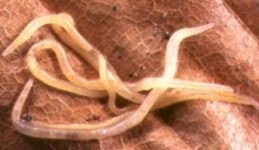
In practice, I have found that how much food I need each week depends on the soil temperature of the bins (where warmer = faster breakdown = more food is available per day) and details about what comprises the “food”. Because some food breaks down quickly (leafy greens, fruit, etc.) and some slowly (fibrous husks & stalks, root vegetables, etc.). Also, the size of food pieces and whether it’s been frozen or smashed are factors in breakdown time.
Soil temperature can be controlled (measured, or predicted based on season), but the food mix depends on your source and how consistent it is. I strive for consistency by working with my restaurant supplier, but there are perturbations that you will have to manage on the fly.
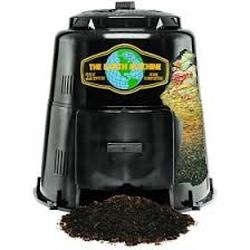
A practical & simple tracking system for feeding that is used every time can help manage this (without going too crazy worrying about it). I use a taped date-fed list on my bins and tracking notebook (temperature, food source, and notes about the food that day), but anything that you will use can work. This is especially helpful if you're experimenting or changing/adding food suppliers.
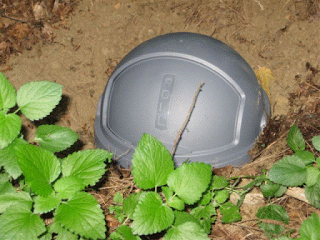
Despite my best efforts, I have days when I’ve got extra food with nowhere to put it and other days with bins waiting to be fed. I note which bin(s) need to be fed next or are good for a while, to prevent overthinking this. My goal is to have most of my bins in active reproduction and growth so I can live with a few being a bit underfed as long as I remedy that in the near term.
Uncertainty and experimentation are part of what I find interesting about vermiculture. I hope you do, too!
Cheers,
Mark
In practice, I have found that how much food I need each week depends on the soil temperature of the bins (where warmer = faster breakdown = more food is available per day) and details about what comprises the “food”. Because some food breaks down quickly (leafy greens, fruit, etc.) and some slowly (fibrous husks & stalks, root vegetables, etc.). Also, the size of food pieces and whether it’s been frozen or smashed are factors in breakdown time.
Soil temperature can be controlled (measured, or predicted based on season), but the food mix depends on your source and how consistent it is. I strive for consistency by working with my restaurant supplier, but there are perturbations that you will have to manage on the fly.
A practical & simple tracking system for feeding that is used every time can help manage this (without going too crazy worrying about it). I use a taped date-fed list on my bins and tracking notebook (temperature, food source, and notes about the food that day), but anything that you will use can work. This is especially helpful if you're experimenting or changing/adding food suppliers.
Despite my best efforts, I have days when I’ve got extra food with nowhere to put it and other days with bins waiting to be fed. I note which bin(s) need to be fed next or are good for a while, to prevent overthinking this. My goal is to have most of my bins in active reproduction and growth so I can live with a few being a bit underfed as long as I remedy that in the near term.
Uncertainty and experimentation are part of what I find interesting about vermiculture. I hope you do, too!
Cheers,
Mark

 RSS Feed

